New Jersey homeowners know that weather can change quickly… Maybe a little too quickly. One…
Upgrade Your Kitchen for the Holidays with Cabinet Refinishing
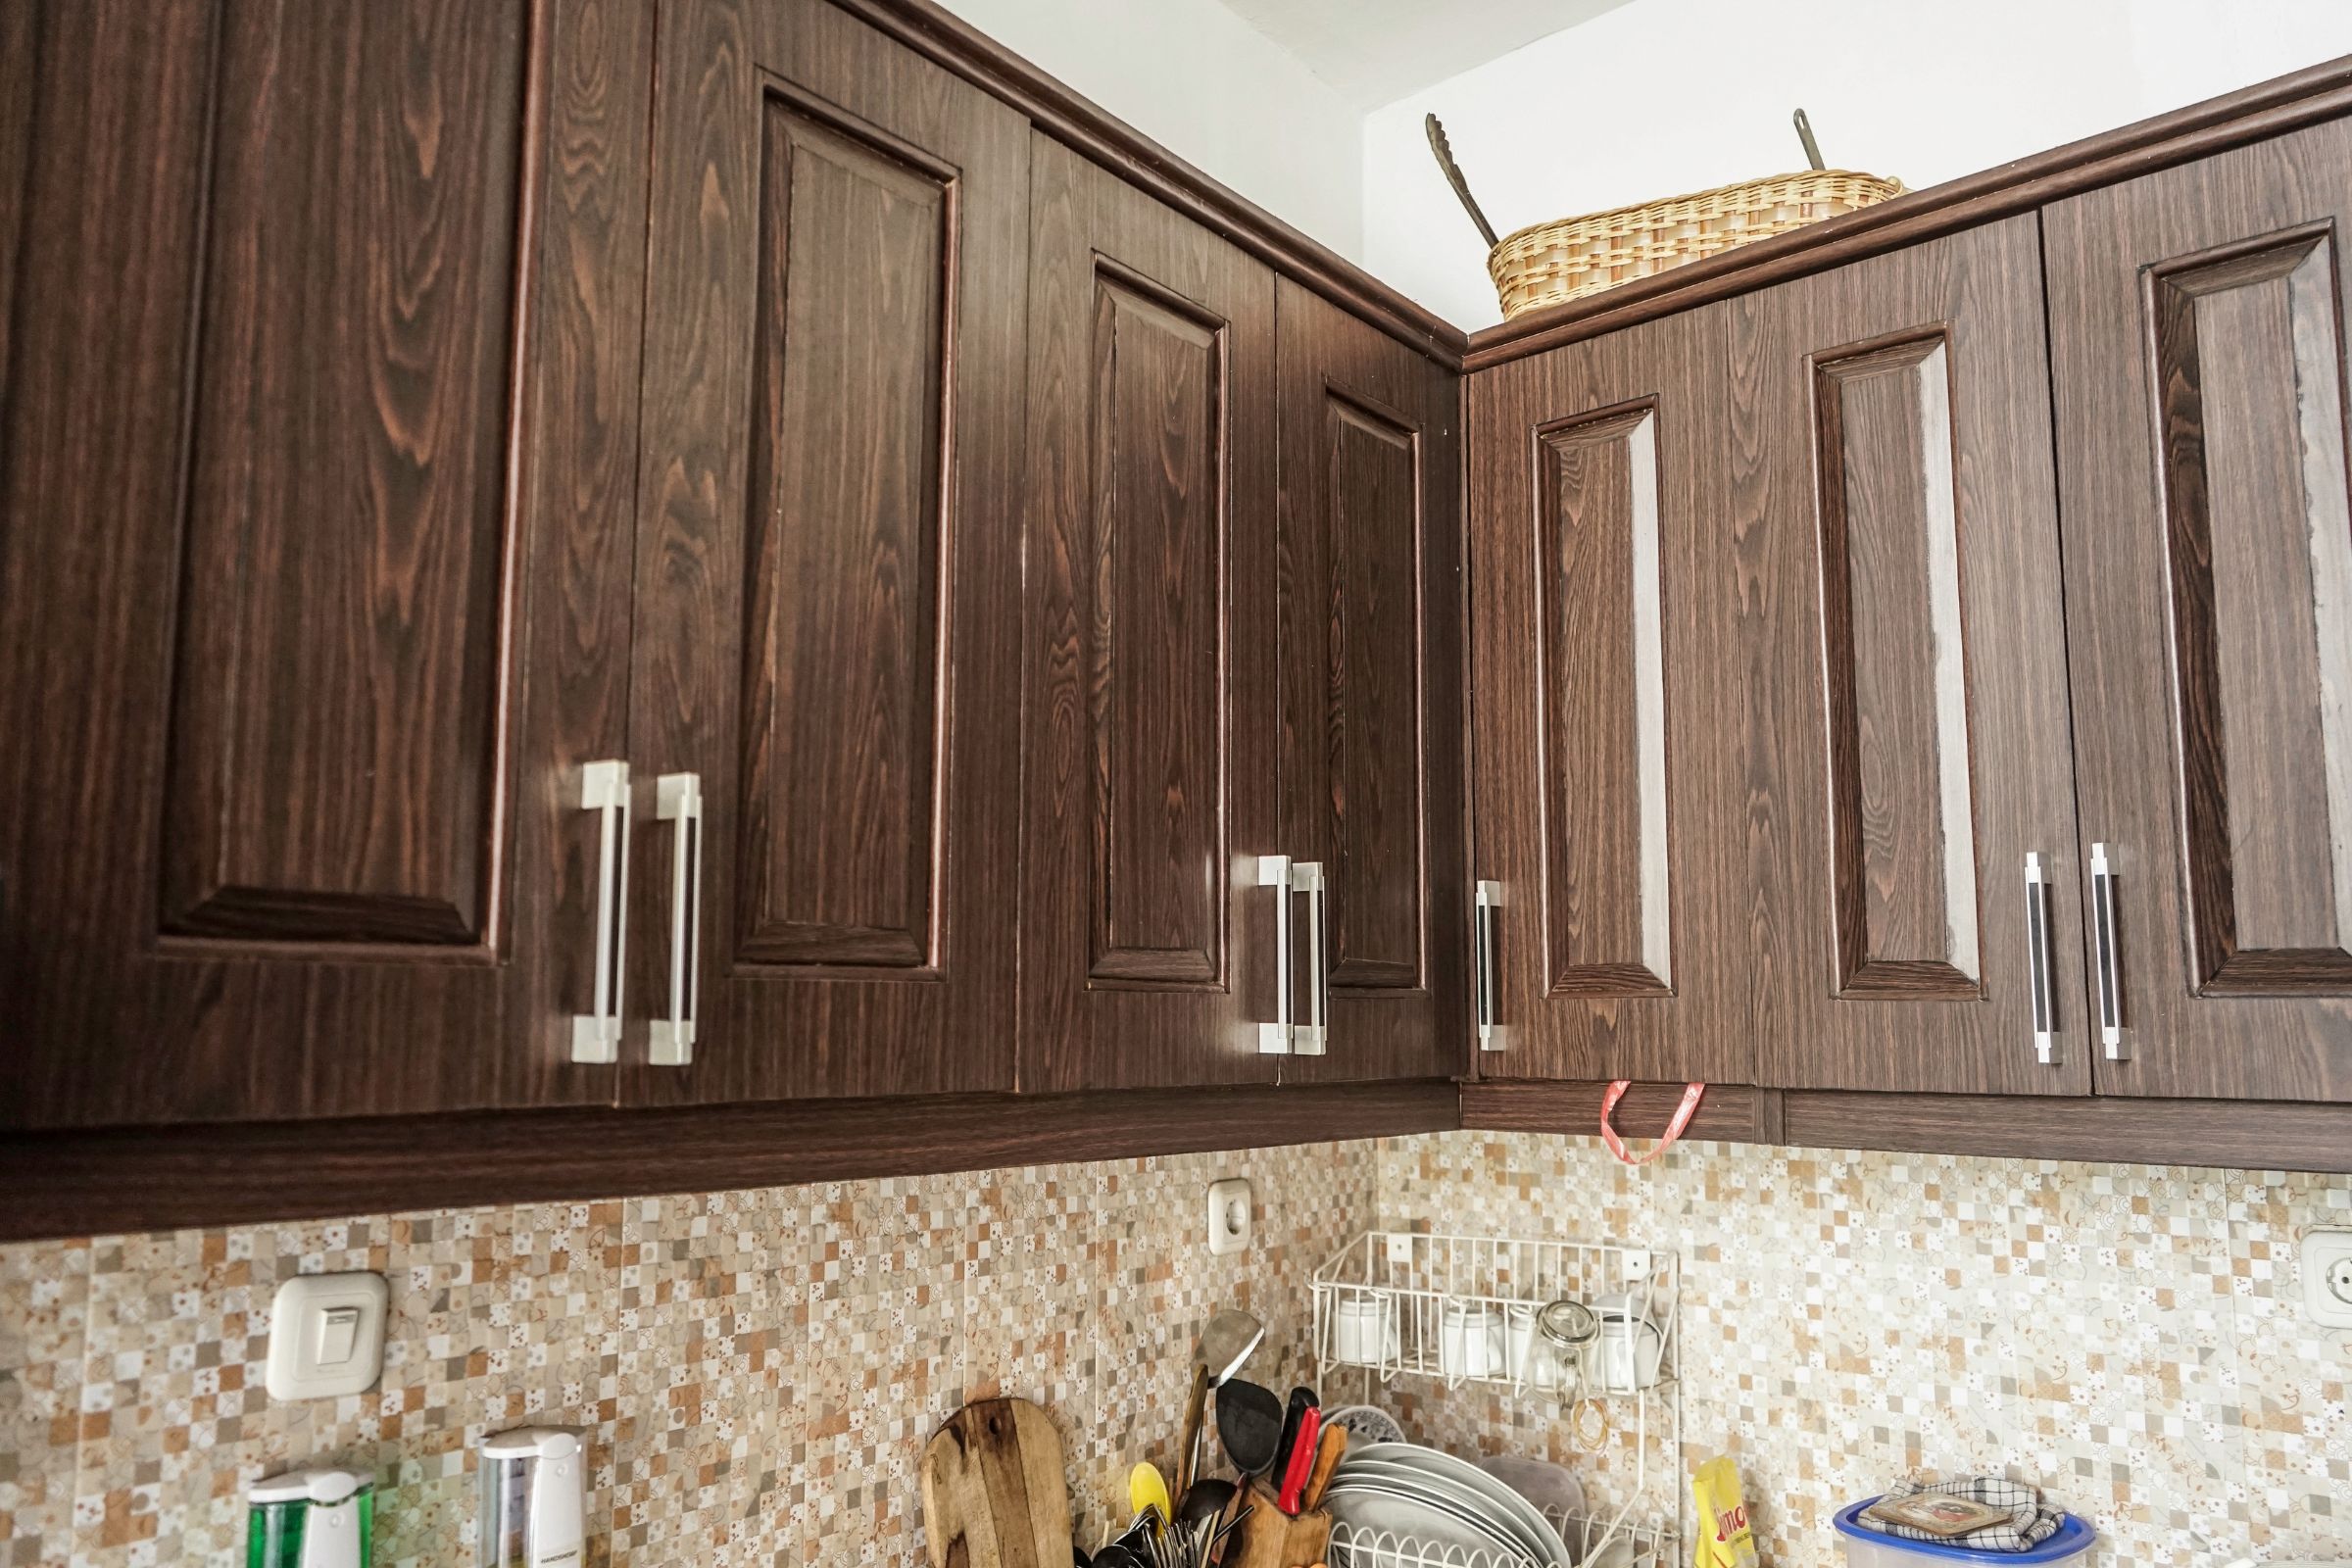
The holiday season is the perfect time to spruce up your kitchen and create a fresh and inviting space for entertaining family and friends. If your kitchen cabinets are looking dull or outdated, cabinet refinishing can be a budget-friendly way to give them a brand-new upgrade without the cost and hassle of a complete remodel. By giving your cabinets a fresh coat of paint and an upgraded finish, you can transform the entire kitchen and create a beautiful backdrop for your holiday festivities. Whether you want to add a splash of color or go for a sleek and modern look, cabinet refinishing offers a wide range of custom options to suit your style and taste.
Why Upgrade Your Kitchen Cabinets for the Holidays
Upgrading your cabinets for the holidays can bring numerous benefits to your kitchen space. A fresh coat of paint can instantly make your cabinets look refreshed and new, giving your entire kitchen a facelift. By choosing a color that complements your holiday decor, you can create a festive atmosphere that sets the tone for the season.
Refinishing your cabinets goes beyond just adding a splash of color. It can completely transform the look and feel of your kitchen. By refinishing the cabinet doors, drawer fronts, and even the cabinet boxes, you can achieve a smooth and durable finish that breathes new life into the entire space.
Upgrading your cabinets for the holidays is not just a visual upgrade but also a functional one. By refinishing your cabinets, you can create a more enjoyable cooking experience as the cabinets become easier to clean and maintain. Additionally, a beautifully upgraded kitchen with well-designed cabinets is sure to impress your holiday guests, making your gatherings even more memorable.
Preparing for Refinishing
Preparing your kitchen cabinets for refinishing is an essential step to ensure a smooth and successful project. Follow these steps to properly prepare your cabinets:
- Remove all items from the cabinets: Clear out your cabinets completely, removing all dishes, cookware, and utensils. This will make it easier to access and work on the cabinet surfaces.
- Clean and degrease the surfaces: Before sanding, it is crucial to thoroughly clean and degrease the cabinet surfaces. Use a gentle cleaner or a mixture of warm water and mild dish soap to remove any dirt, grime, or grease buildup. Wipe down all surfaces, including the cabinet boxes, doors, and drawer fronts.
- Sand the surfaces: Sanding is an important step to create a smooth and even surface for the new finish. Use a medium-grit sandpaper to lightly sand the cabinet surfaces, removing any rough spots or old finish. Make sure to sand in the direction of the wood grain for the best results.
- Remove the cabinet doors, hardware, and drawers: Next, remove the cabinet doors, drawer fronts, and hardware. Label each piece or take photos for easy reassembly later. This will allow you to work on them separately and ensure an even application of the new finish.
By following these steps and properly preparing your cabinets for refinishing, you can achieve a professional and long-lasting result. Remember to take your time and pay attention to detail to achieve the best outcome for your kitchen cabinets.
Choosing a Finish for Your Cabinets
Choosing the right finish for your cabinets is crucial to achieving a beautiful and durable result. There are several options available, but two popular choices are lacquer paint and urethane paint.
Lacquer paint is a great option for a smooth and durable finish. It dries quickly and provides a high-gloss shine that adds a touch of elegance to your kitchen. It is important to use a high-quality lacquer paint to ensure better coverage and longevity.
Urethane paint is another excellent choice for cabinet refinishing. It offers a durable and long-lasting finish that can withstand daily wear and tear. Urethane paint is available in various sheen levels, from satin to high gloss, allowing you to achieve the desired look for your kitchen.
It is important to note that when painting cabinets, a wood surface is ideal. However, if you are dealing with laminate or glossy finishes, deglossing is necessary to create a surface that the paint can adhere to properly.
To enhance adhesion and provide a solid base for the paint, it is recommended to use a standalone primer. A latex-oil combo primer is a good choice as it combines the benefits of both types of primers.
Choosing the right finish for your cabinets is an important decision as it can transform the look of your kitchen. Consider your desired aesthetic and durability needs to make the best choice for your cabinet refinishing project.
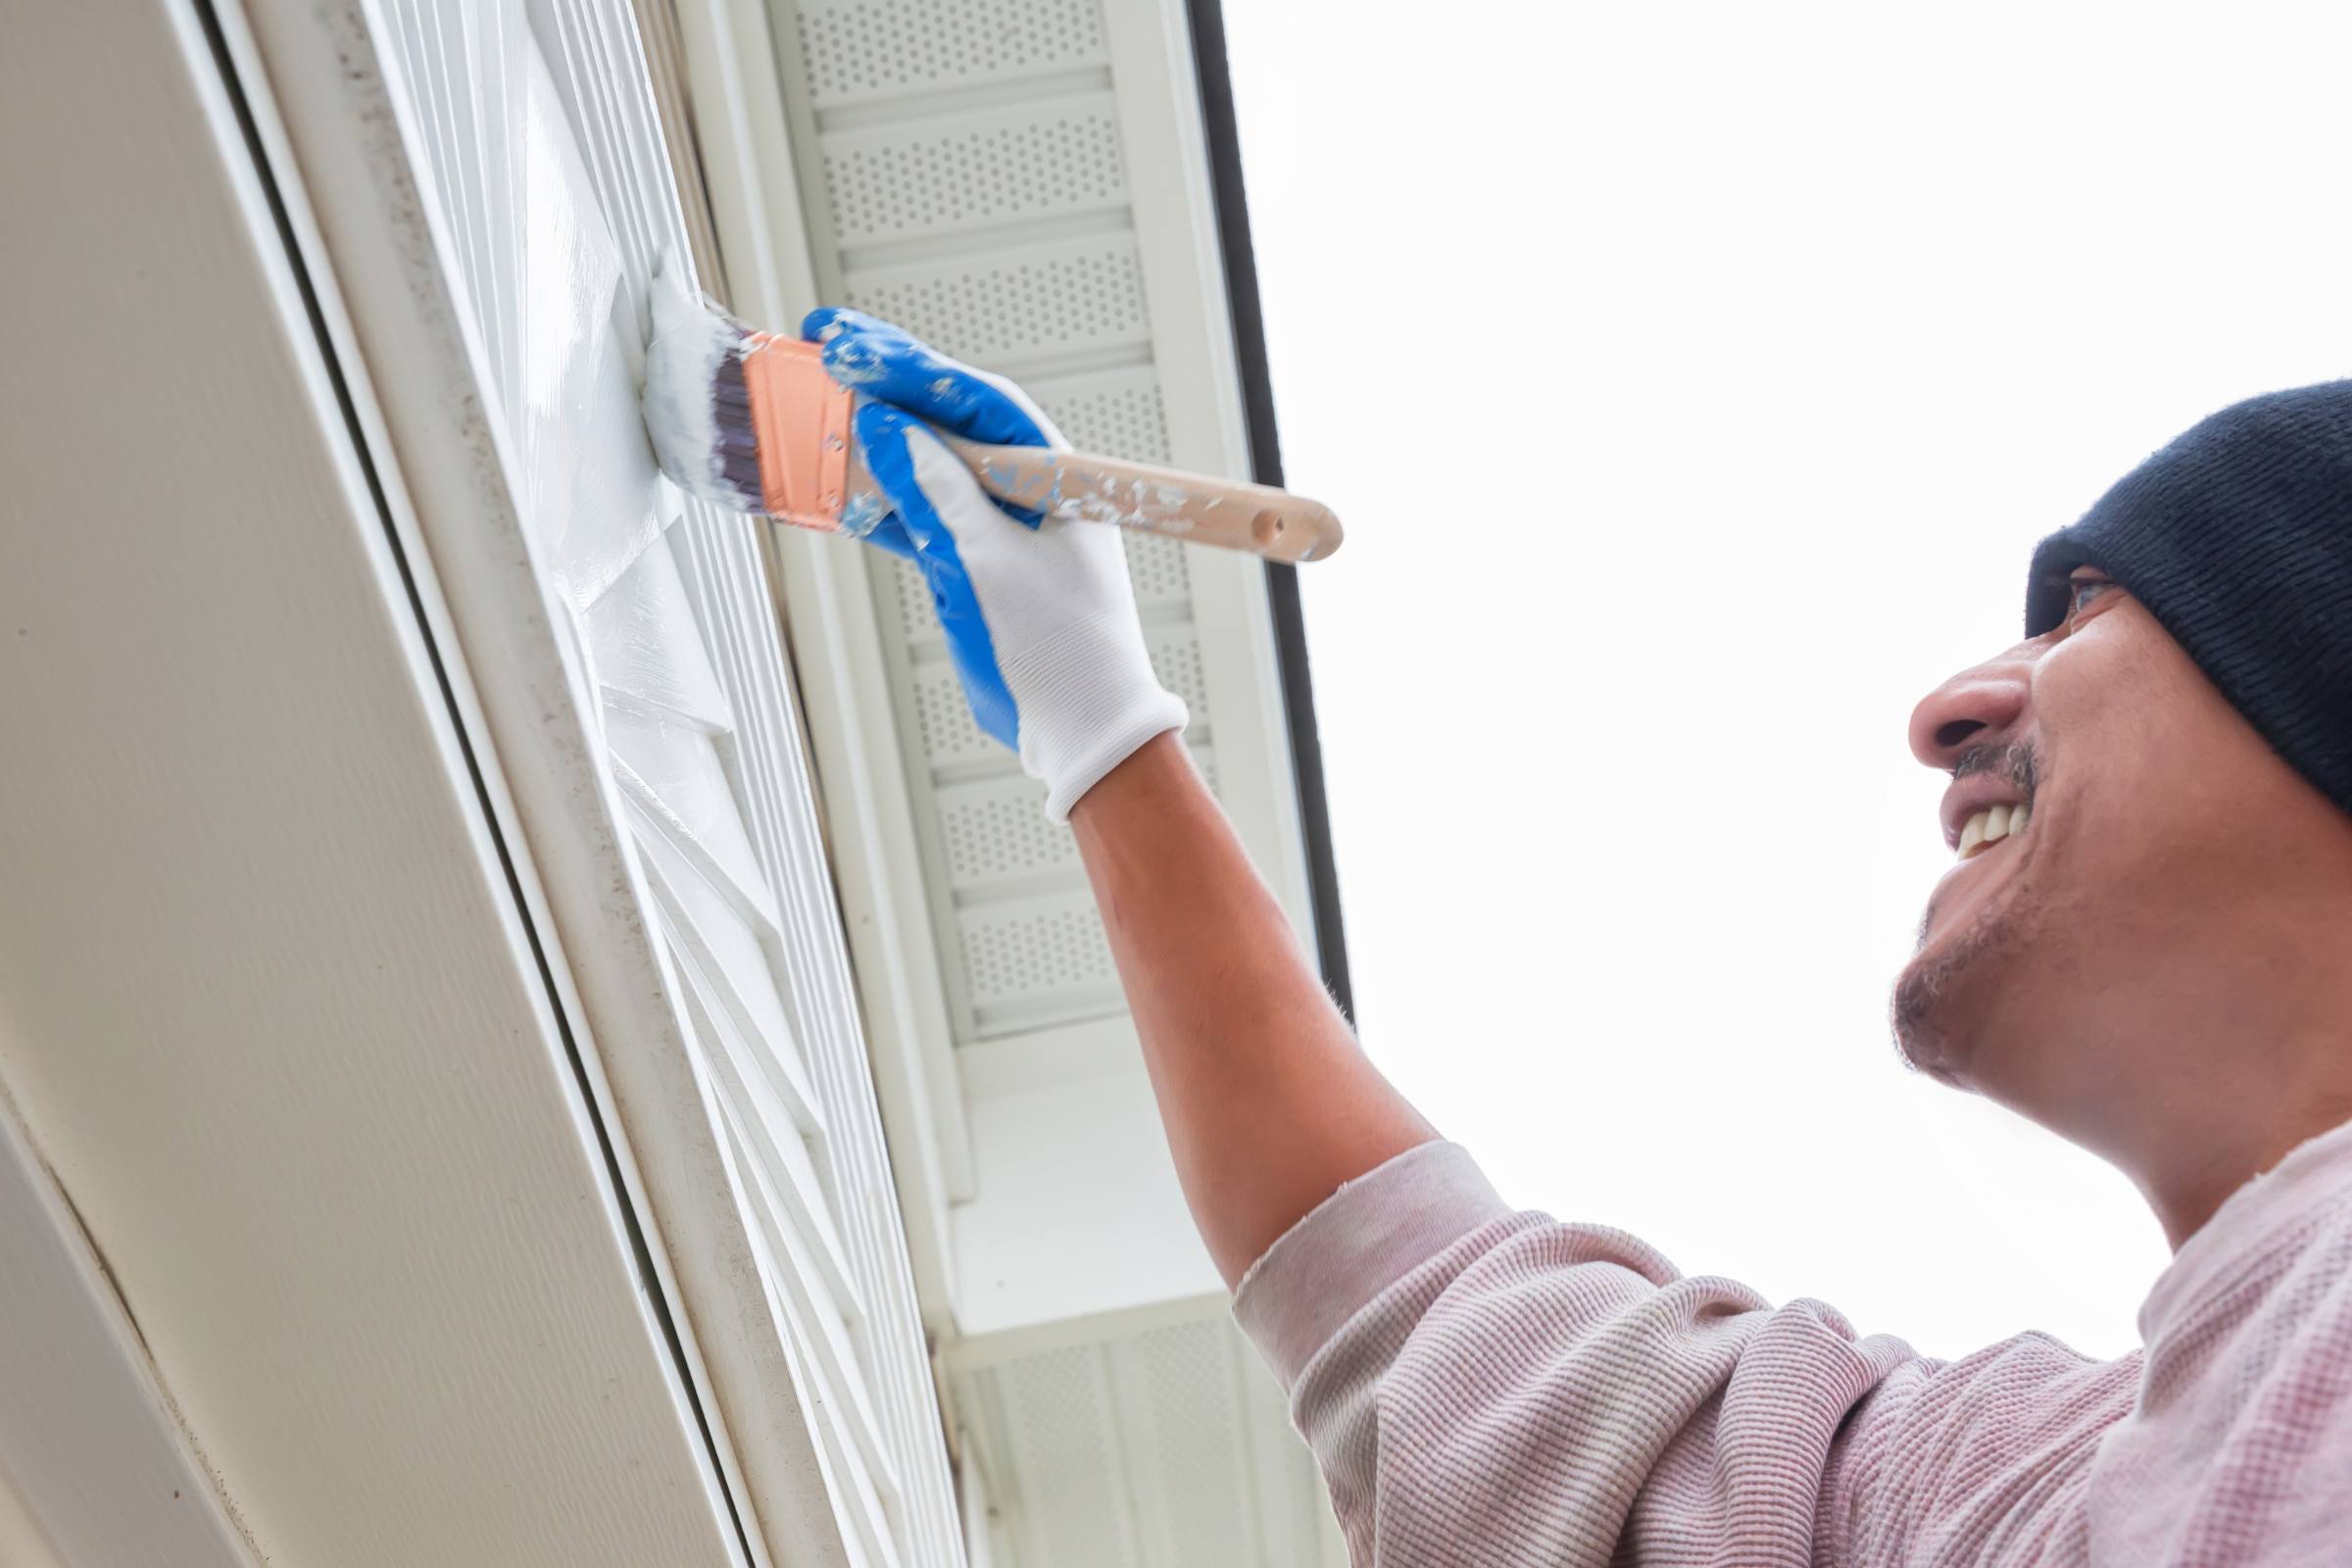
Process of Cabinet Refinishing
Once the cabinets are prepped and sanded, it’s time to apply a primer. This will create a solid base for the paint and enhance its durability. Be sure to choose a high-quality primer that is specifically made for cabinets.
After the primer has dried, you can now apply your chosen paint color. Whether you opt for a bold holiday hue or a classic white, be sure to use high-quality paint that is designed for cabinets. This will ensure a long-lasting and professional-looking finish.
To complete the refinishing process, reattach any hardware and give your cabinets a final clean. The result will be a refreshed and updated kitchen space that is perfect for the holiday season.
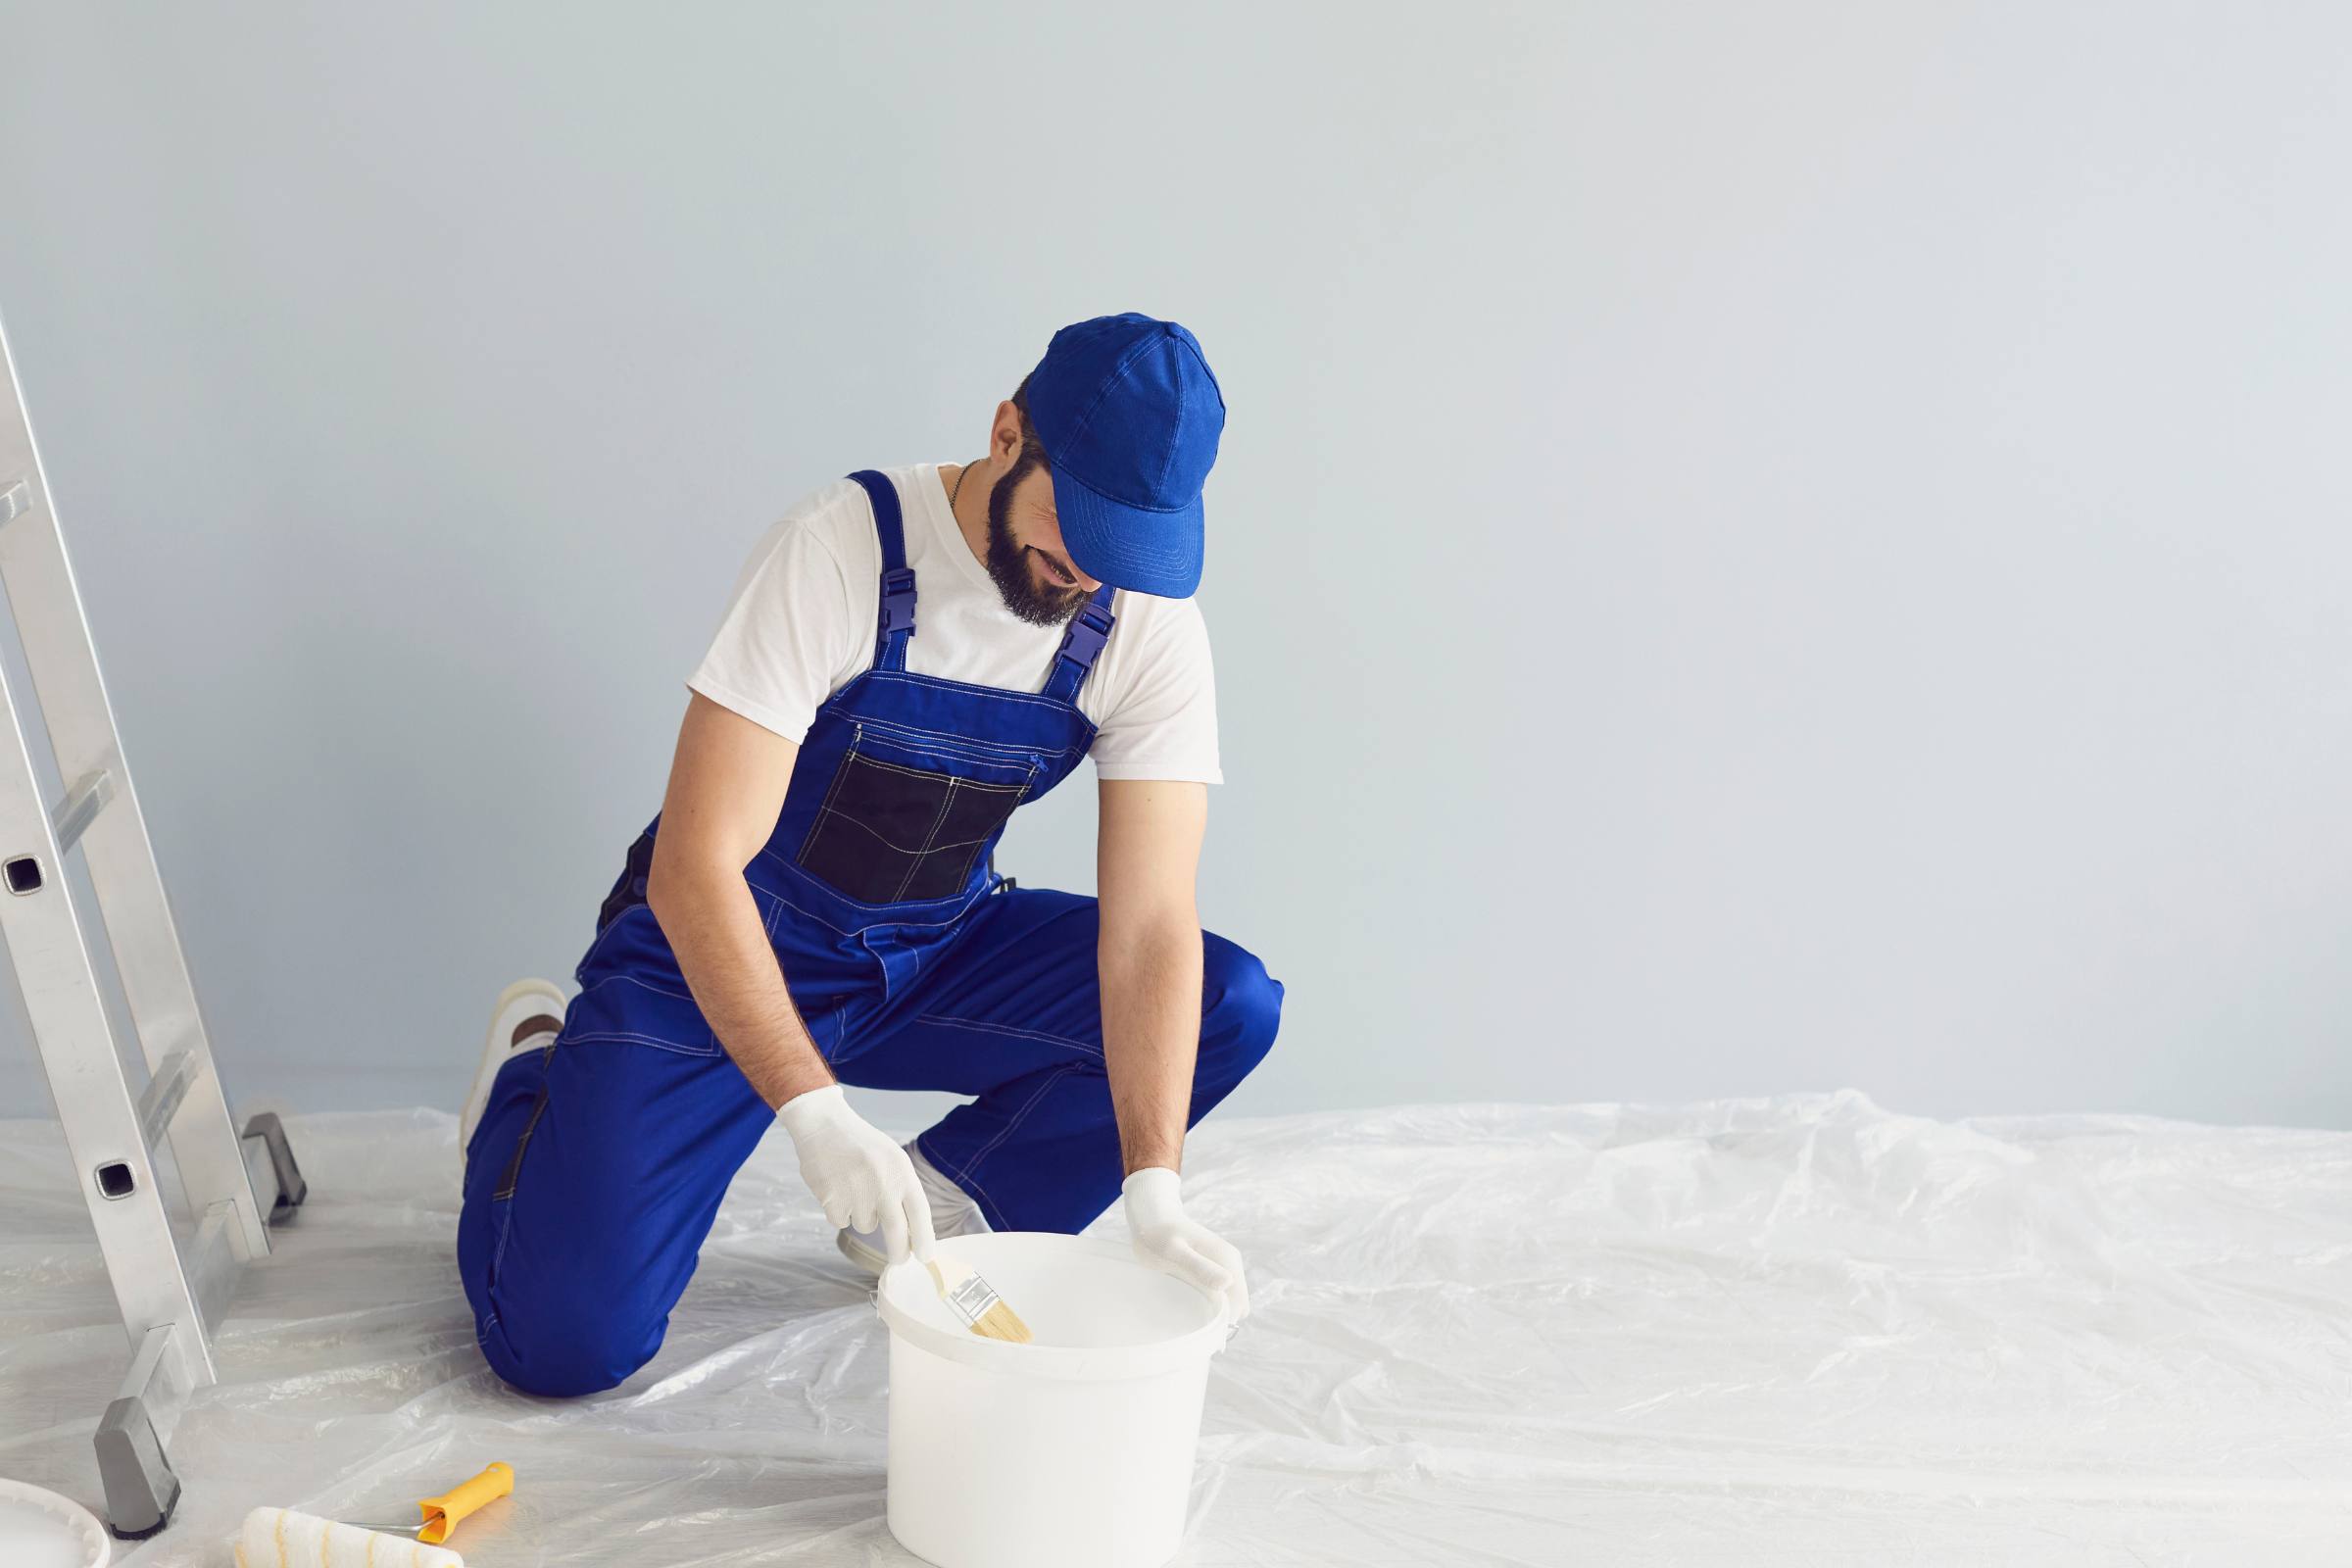
By refinishing your cabinets, you can give your kitchen a fresh new upgrade at a fraction of the cost of a complete remodel. It’s a budget-friendly way to upgrade your space without the need for extensive construction or replacement. If you are struggling with refinishing your cabinets yourself, leave it to the professionals at Van Go Painting. Our highly qualified team will handle the entire process and turn your dream cabinets into a reality. Contact us today to schedule your cabinet refinishing service.
Related Posts