New Jersey homeowners know that weather can change quickly… Maybe a little too quickly. One…
Painting Your Interior After Removing Wallpaper
Wallpapers have their charm, but over time, you might find yourself yearning for a fresh coat of paint on your interior walls. If you’ve decided to bid farewell to your wallpaper by removing it and opting for a classic paint finish, VanGo Painting is here to guide you through the process.
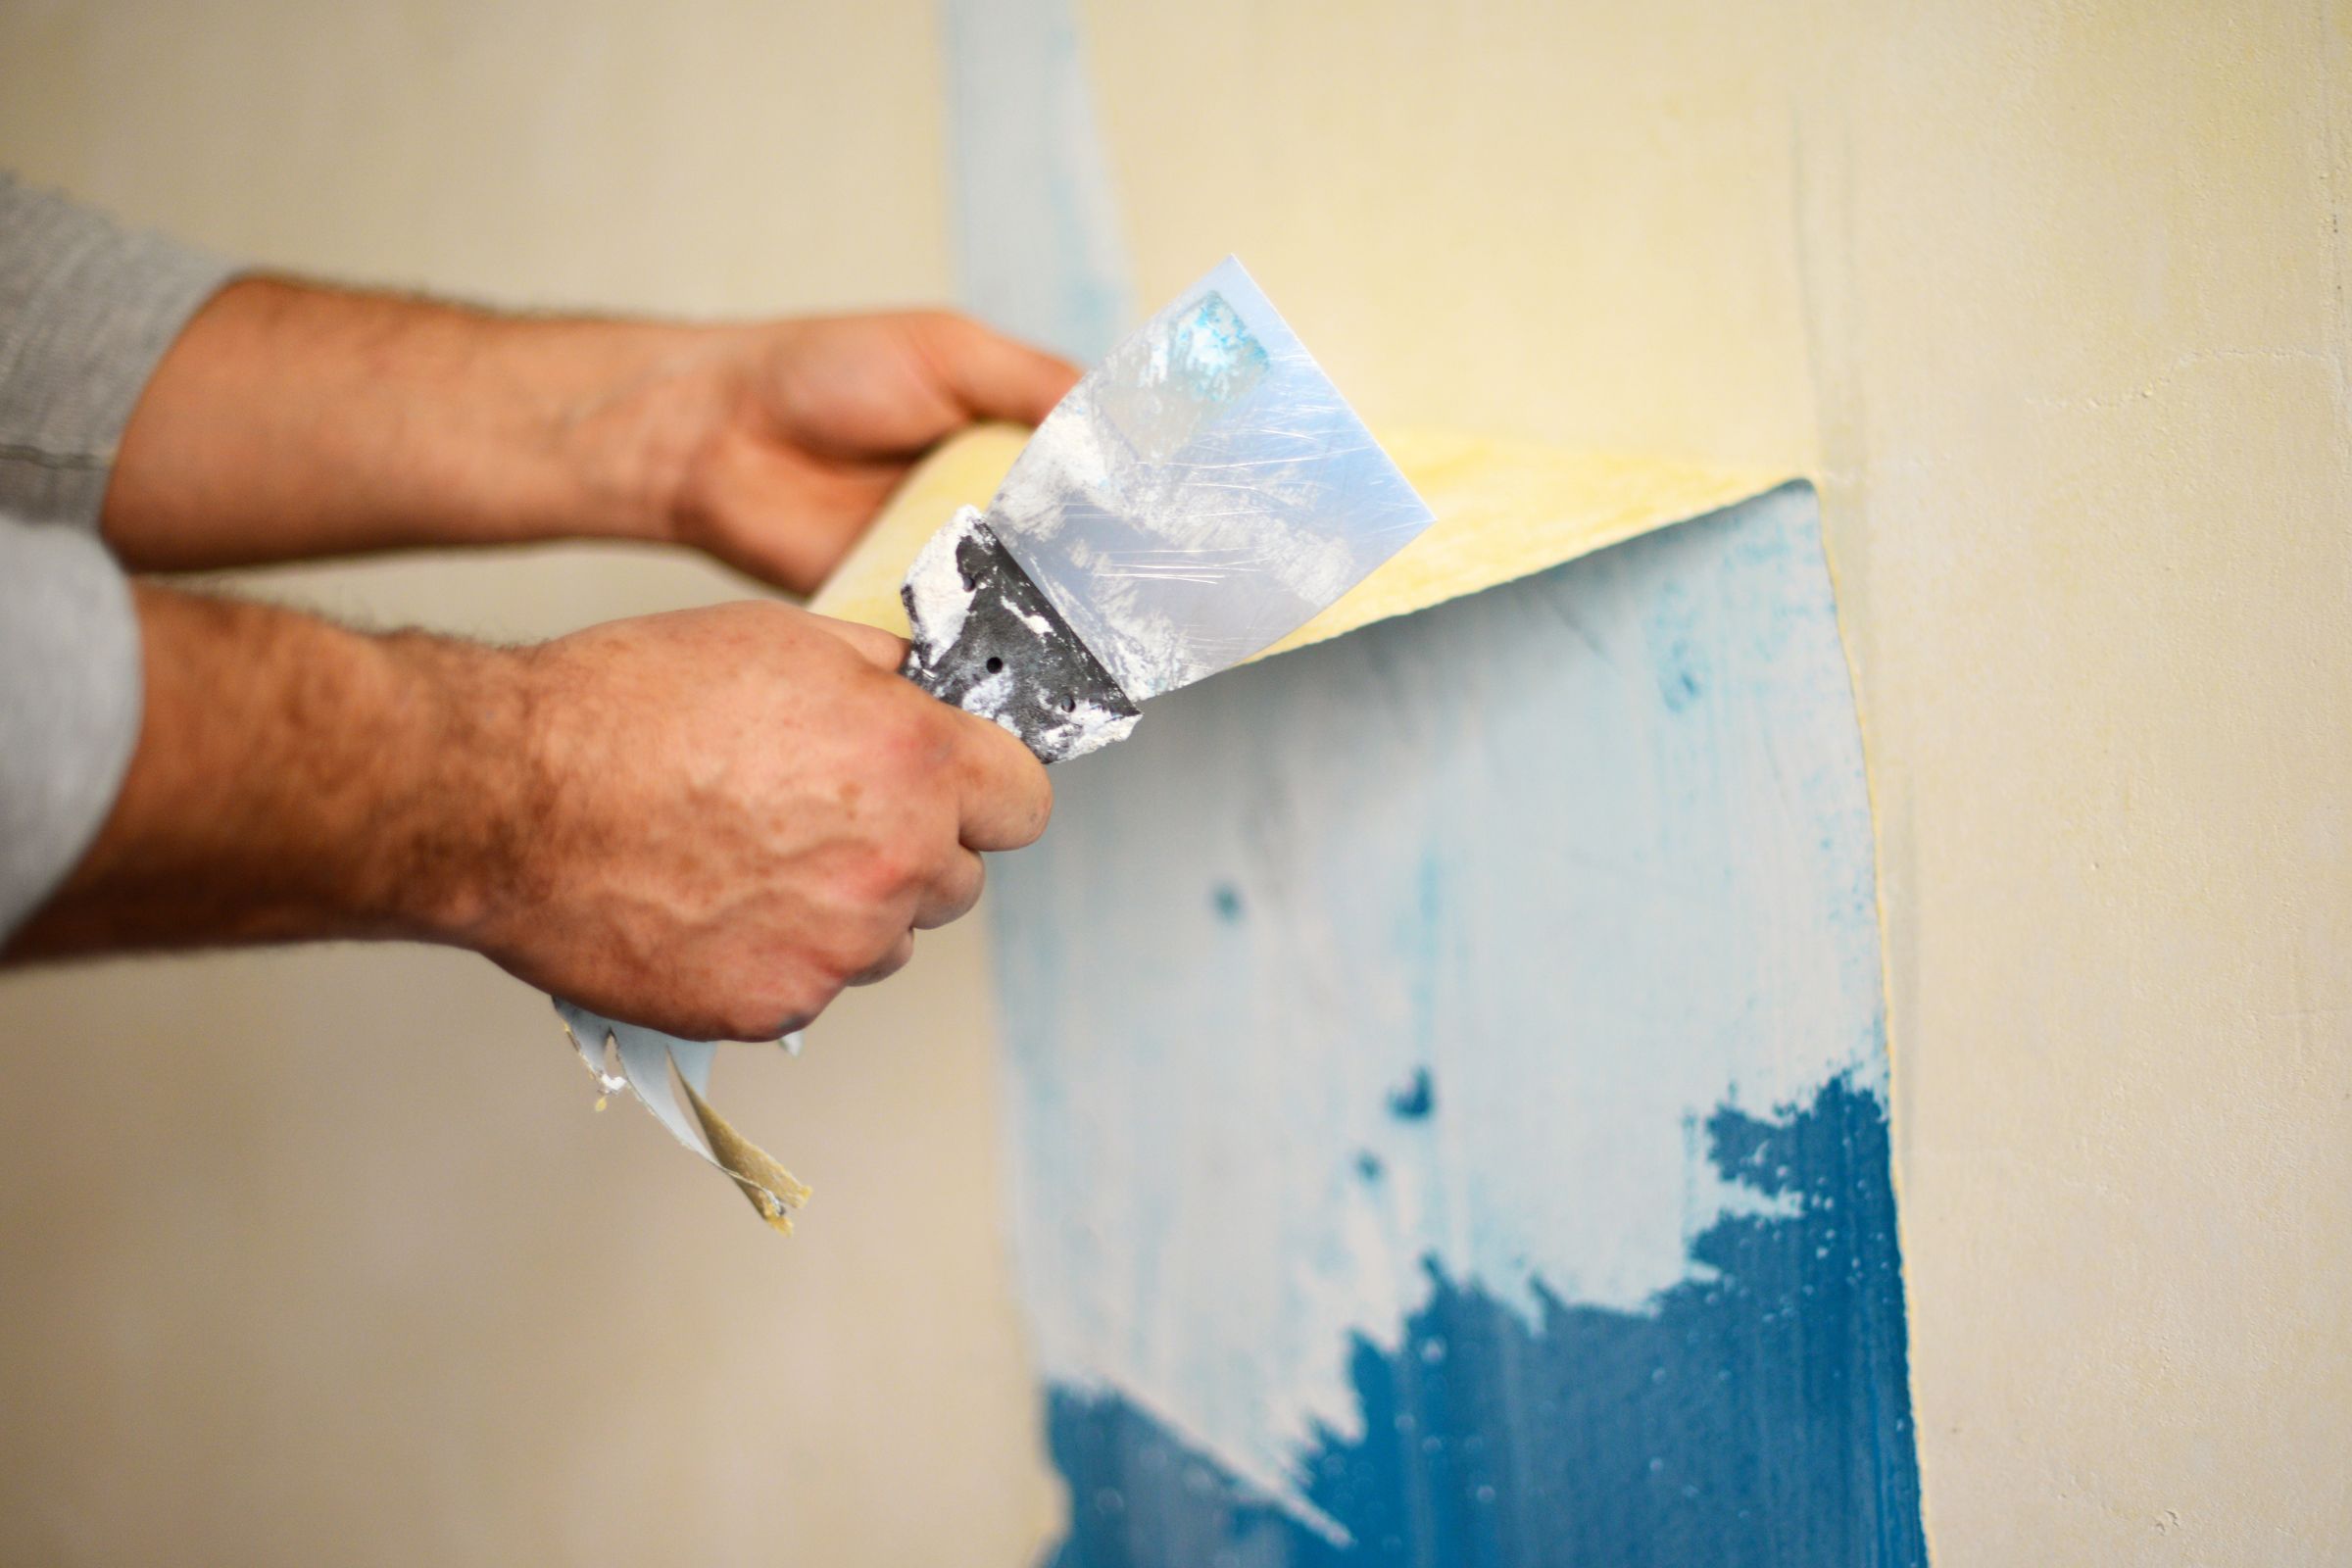
1. Remove Remaining Glue
Once you’ve successfully removed the wallpaper, the first step is to inspect the walls for any residual glue. Leftover adhesive can mar the quality of your paint job, resulting in an unsightly finish.
To tackle this, you can start by scrubbing the walls to remove some of the adhesive. For a more thorough cleaning, consider using TSP (trisodium phosphate) to wash and scrub the walls, ensuring a smooth, glue-free surface. If TSP isn’t readily available, a vinegar and water solution can serve as an alternative. When handling TSP, remember to wear gloves, as it can be harsh on your skin.
2. Sand the Area
After removing any immediate signs of glue and grime by scrubbing, the next step is to sand the area. Sanding ensures that any stubborn adhesive or residue left after scrubbing is smoothed down and removed from the surface.
Exercise caution when sanding to avoid overdoing it, which can lead to uneven surfaces, creating additional painting challenges.
3. Fix Damage Present, If Any
Upon completing the sanding process, carefully inspect the surface for any signs of damage that may have gone unnoticed while the wallpaper was in place. Over time, damage can accumulate beneath the wallpaper.
If you discover any damage, it’s crucial to address it before proceeding with your painting project. No amount of paint or primer alone can conceal or repair surface damage. Painting over damaged areas will result in an uneven and unsightly finish, a scenario best avoided in any painting project.
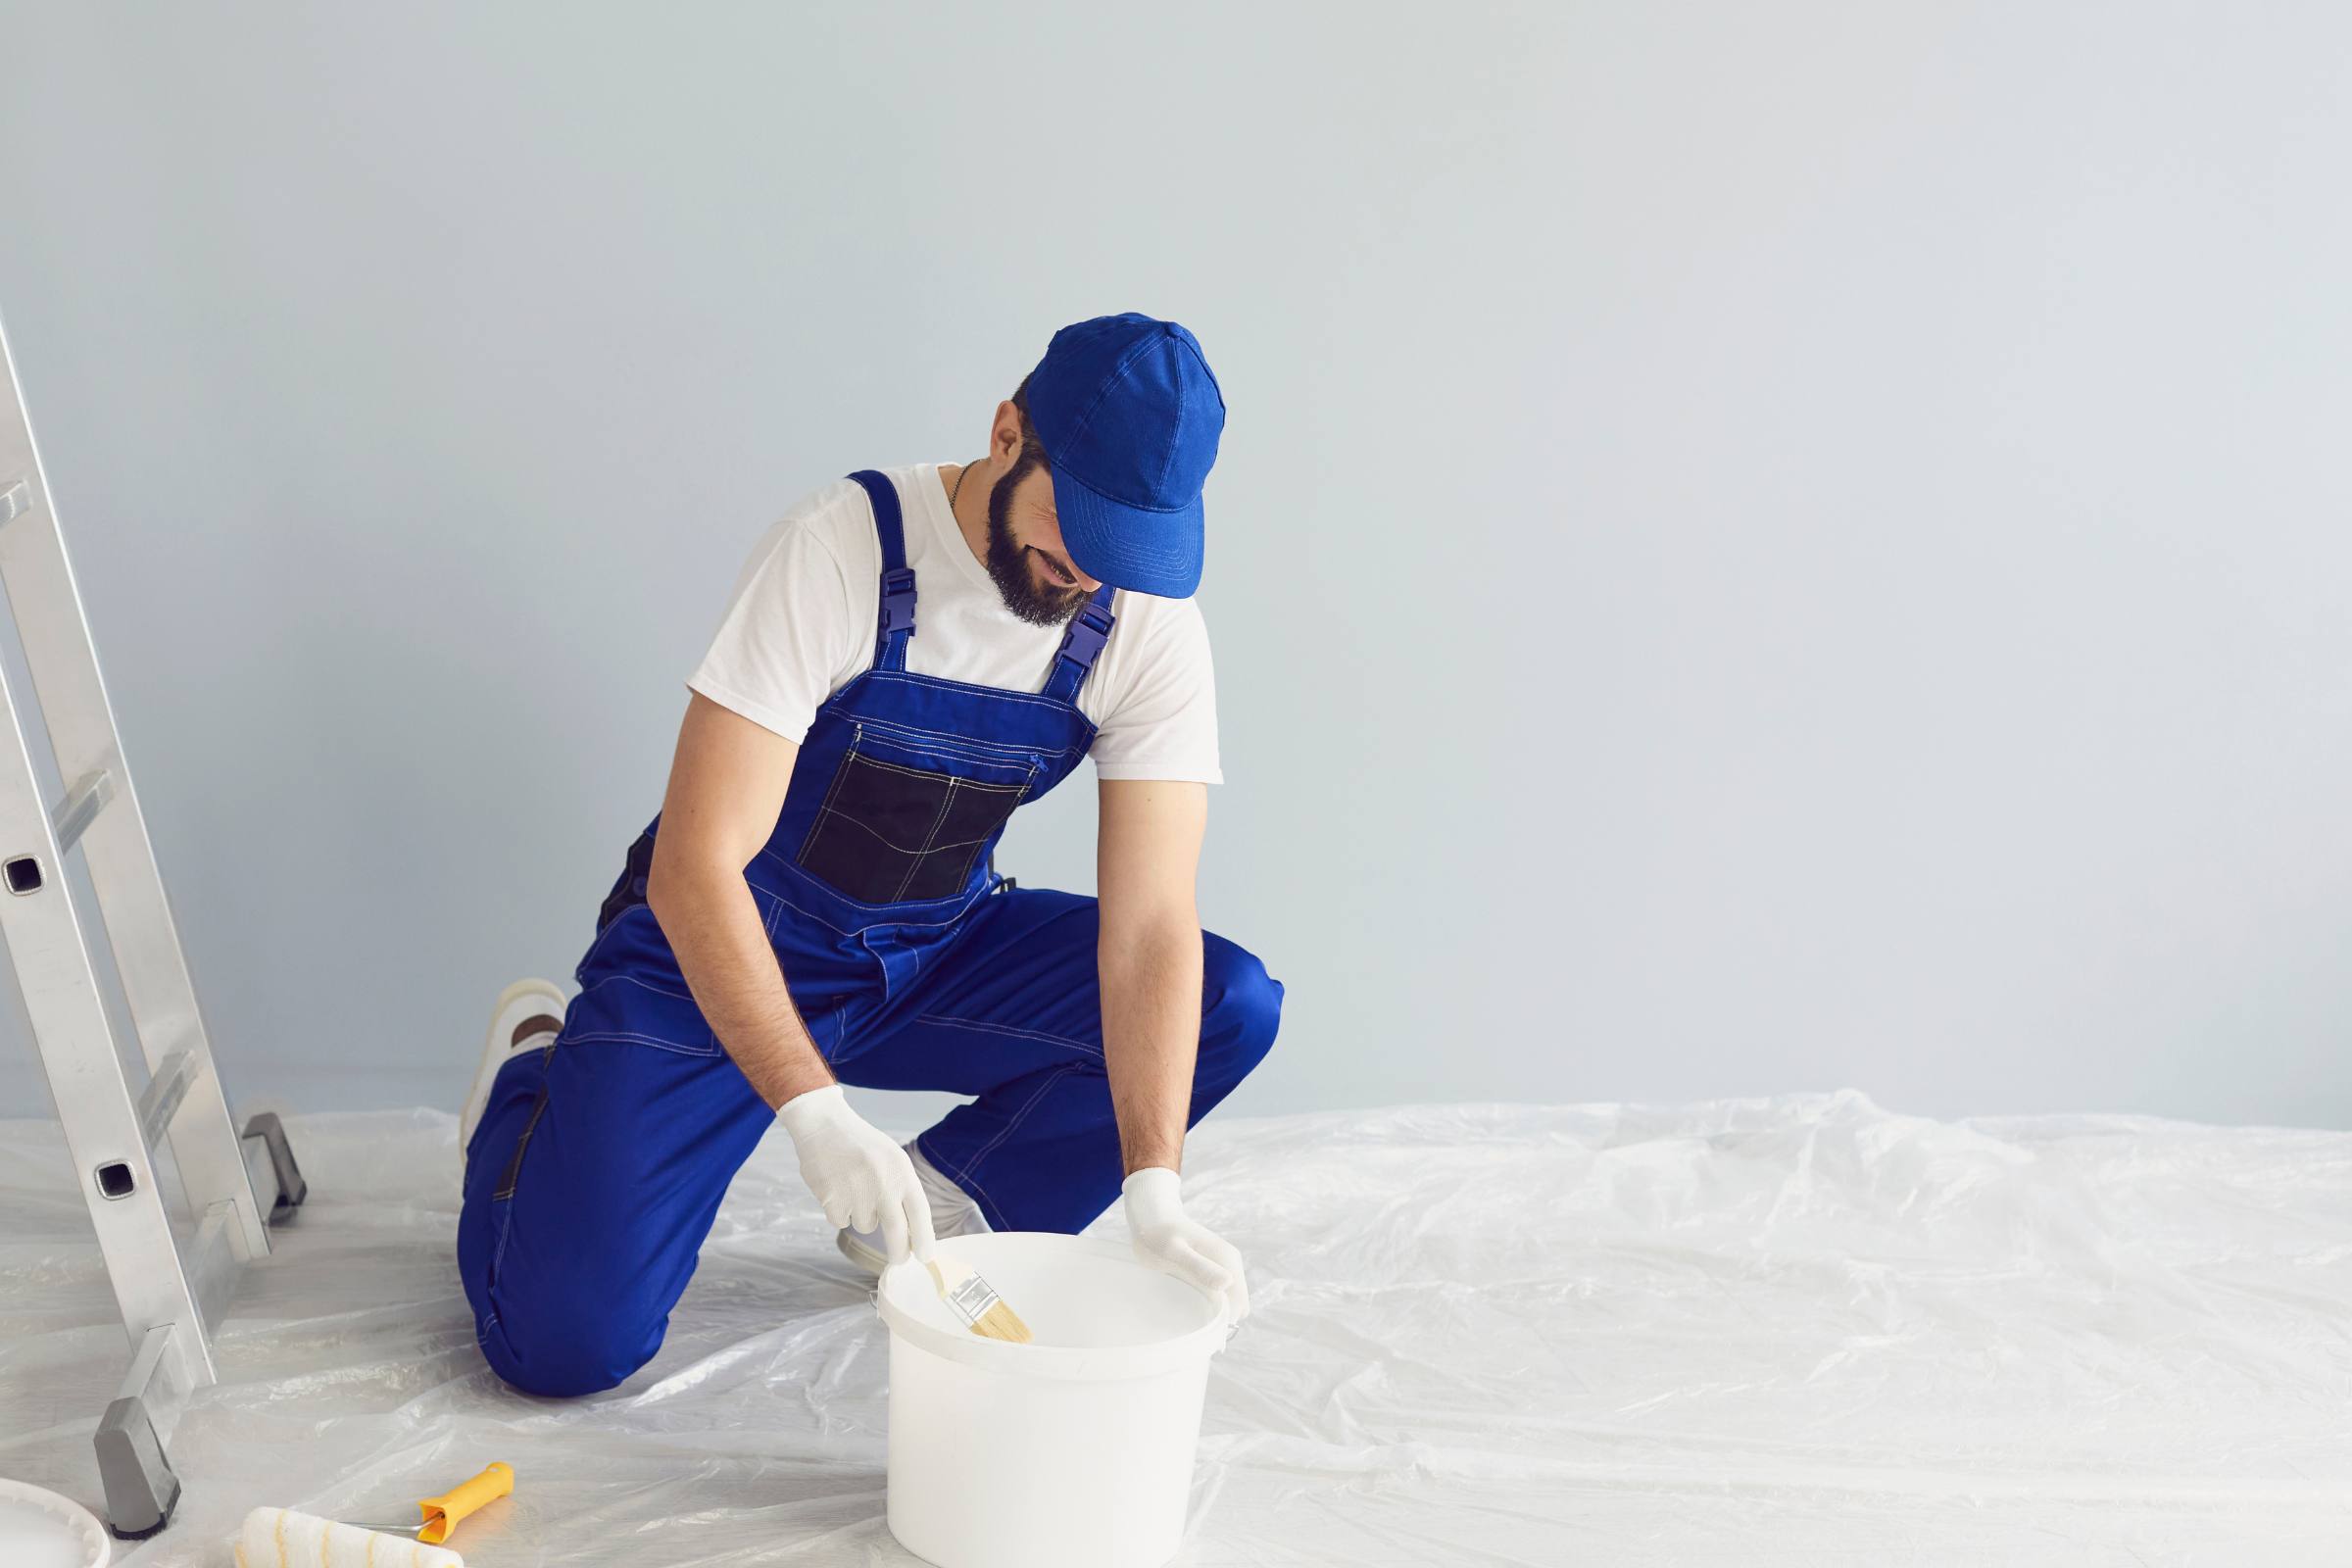
4. Apply Your Coat of Primer
With your surface now prepped and any damage repaired, it’s time to apply a coat of primer. Don’t skip this essential step in your painting process.
Primer serves multiple purposes: it enhances paint coverage, resulting in vibrant and colorful finishes. Additionally, it reinforces the durability of your project, reducing the need for frequent repainting.
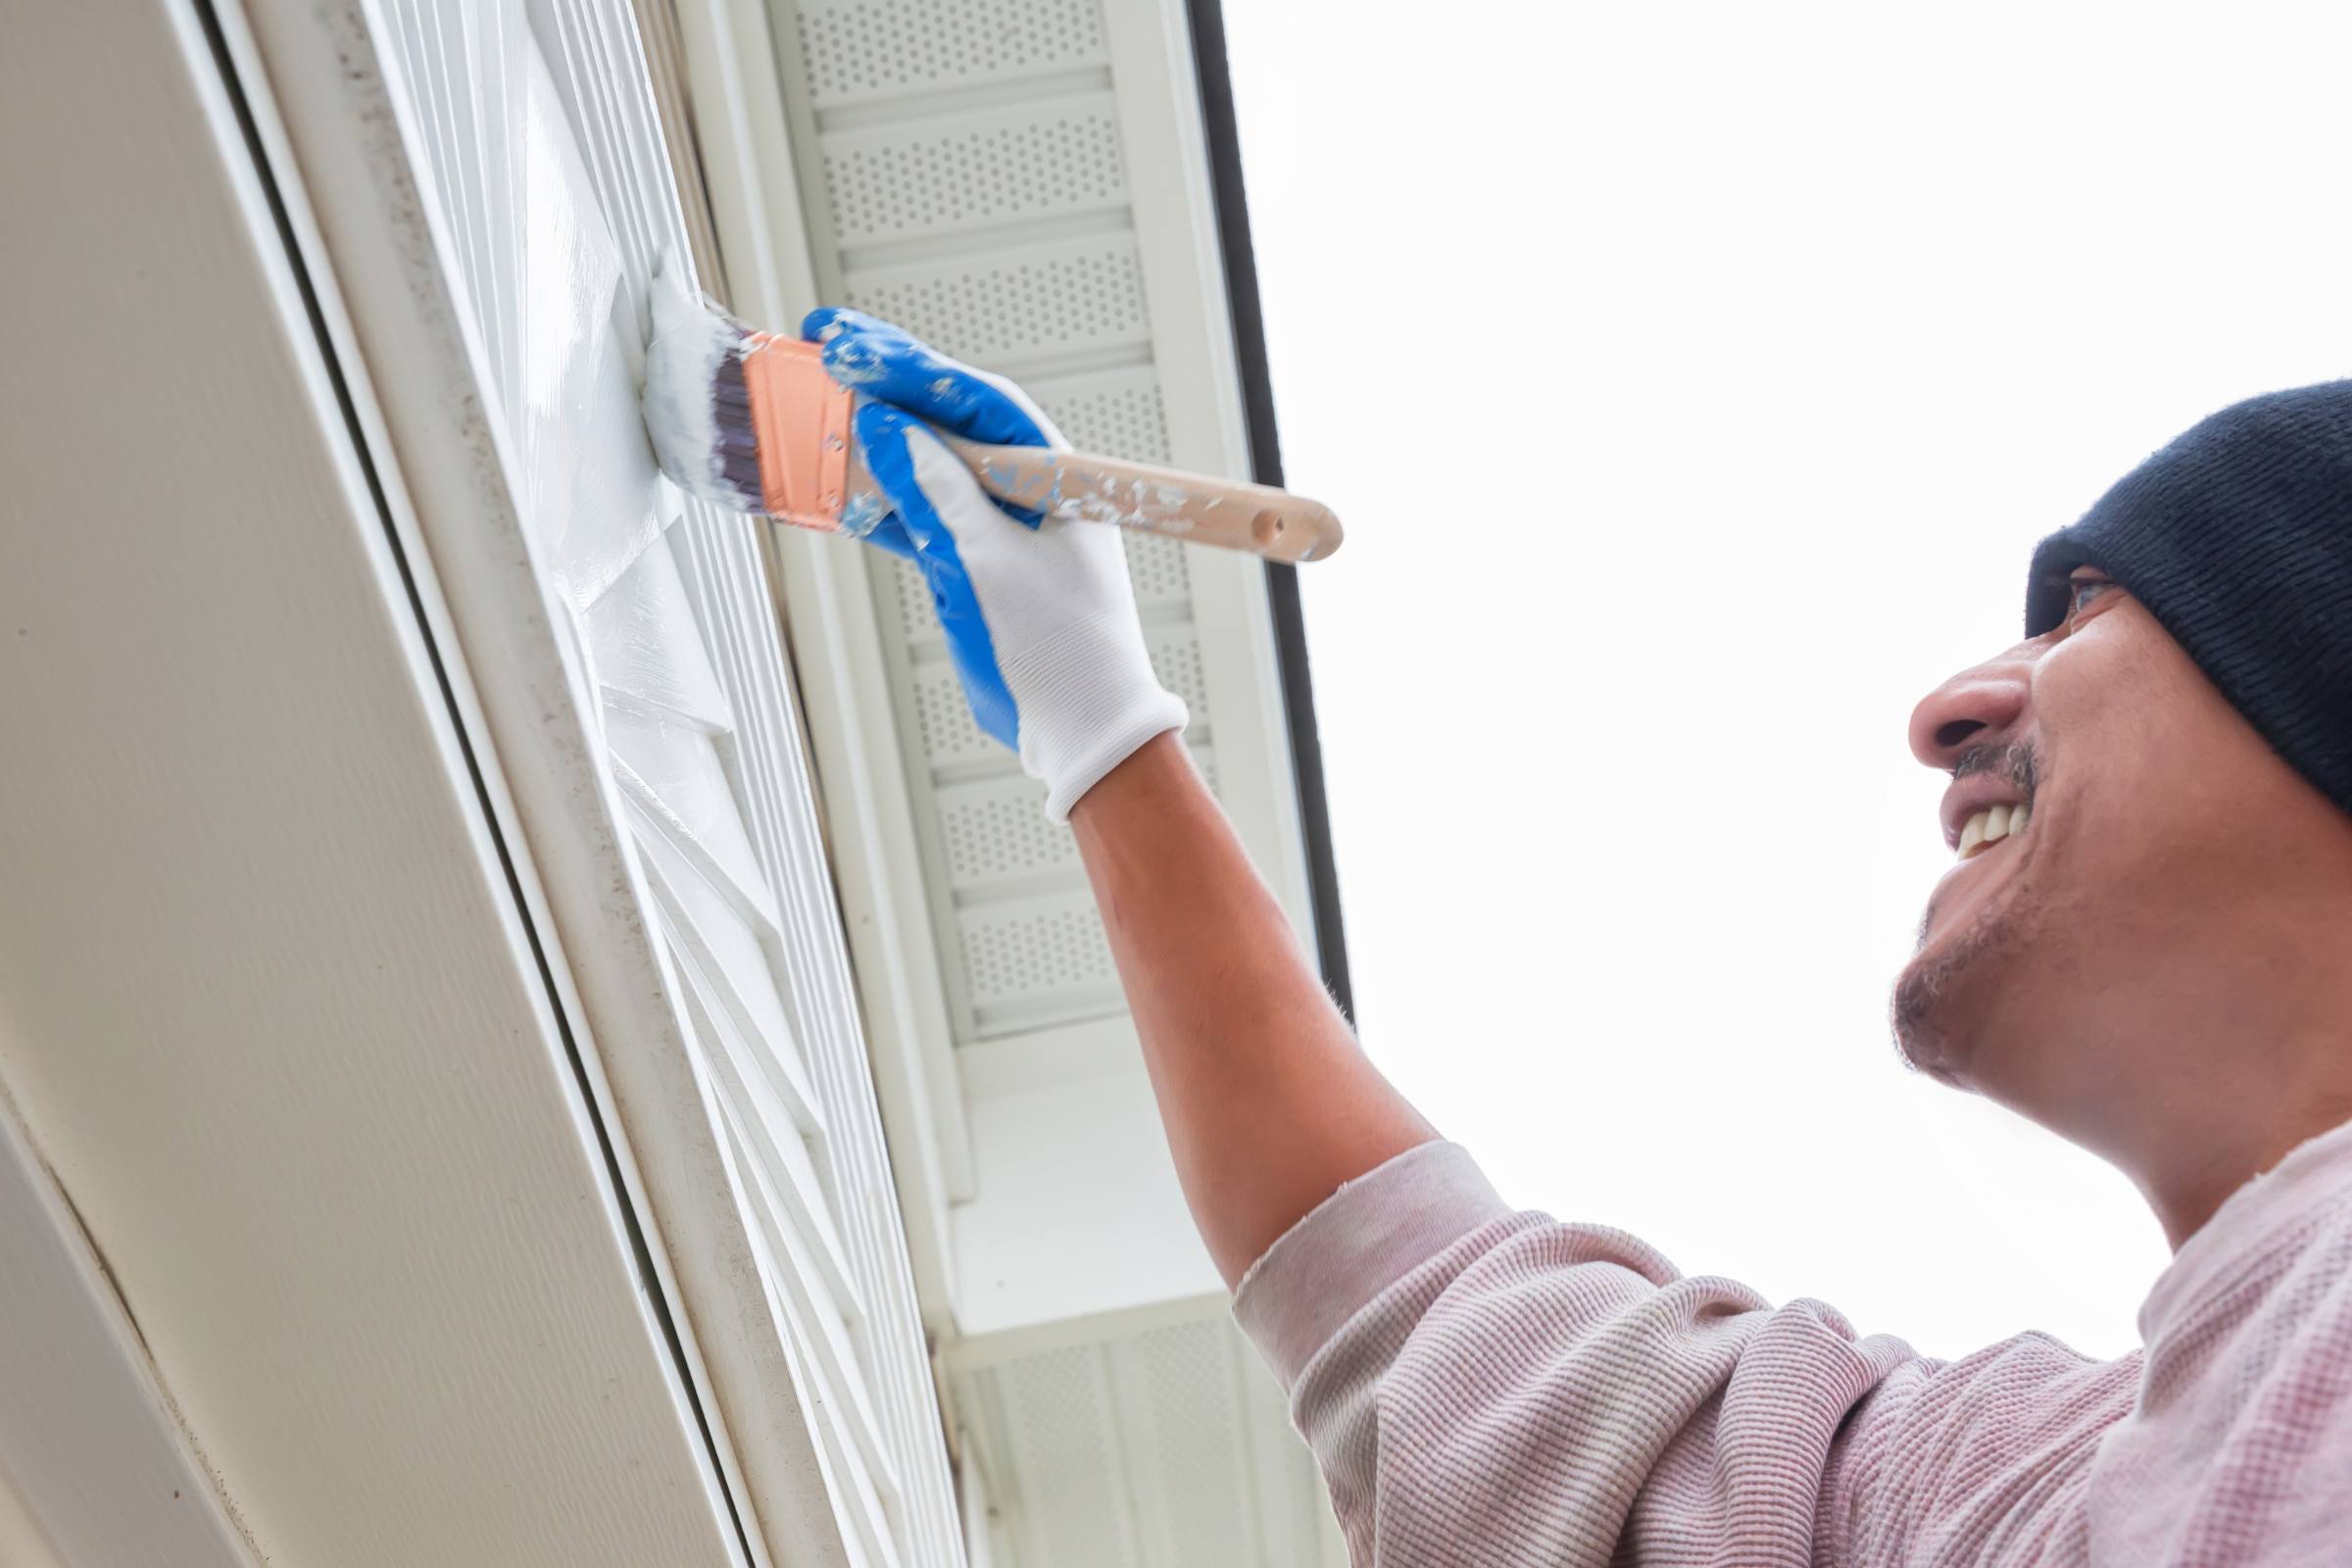
5. Start Painting From The Top
Once the primer has been applied, you’re ready to start painting. Always begin from the top when painting your interior. This approach is not only convenient but also practical.
By starting at the top, any paint drips that occur (which can be unavoidable) will trickle down onto areas you’ve yet to paint. This ensures a more uniform and professional finish as you work your way down.
With these steps, you’re well on your way to transforming your interior from wallpaper to a fresh and stylish coat of paint. VanGo Painting is ready to assist you in achieving your interior painting goals. Contact us today, and let’s get started on creating the perfect ambiance for your space.
Related Posts